Premiere gives a silent clip four sound tracks. How much editing does that save?
Adobe Premiere can turn up to 15 seconds of video into four editable effects tracks. Compare a generated first pass with a manual edit by timing the work that survives into the mix.
The knife hits the cutting board three times. The camera cuts to a pan, and a moment later steam rises. On a silent kitchen clip, finding two plausible effects is easy. Finding the right three knife strikes, lining them up and making the pan sound like it belongs in the same room is where the minutes go.
Adobe announced Generate Soundscape for Premiere desktop on November 10, 2026, and lists it in the version 27.0 desktop release notes. The editor analyzes a selected range of up to 15 seconds and adds four separate audio clips to the timeline: two background sounds and two foreground effects. Adobe Research published an interactive example the next day. You can solo and mute the four generated tracks in each of three scenes, including a kitchen. Adobe announcement · Premiere 27.0 release notes · Adobe Help · Adobe Research demo
The useful comparison is what reaches the finished edit. Start with a short scene, make one sound pass from a known effects library and another with Generate Soundscape, then write down what you kept. A first pass can sound fuller in seconds and still take longer to finish if every foreground cue needs work.
Four independent clips leave room to change your mind
A single mixed audio clip would force an editor to turn down the entire generated result to quiet an irritating sound. Four editable clips make it possible to keep a useful room texture and remove a bad knife effect. Adobe's November 10 instructions say you can preview variations for each sound, then trim, move or apply effects to the corresponding clips. The editor can treat them like the other audio in the sequence. Premiere soundscape instructions with timeline screens
Background sounds establish a place and help a scene feel continuous. The quiet mechanical hum in a kitchen does not need to hit an exact frame, but it needs to survive a cut without disappearing or changing character unexpectedly. A foreground effect has a tighter job. The first knife contact, the snip of scissors or the closing latch needs to line up with an action that the audience can see.
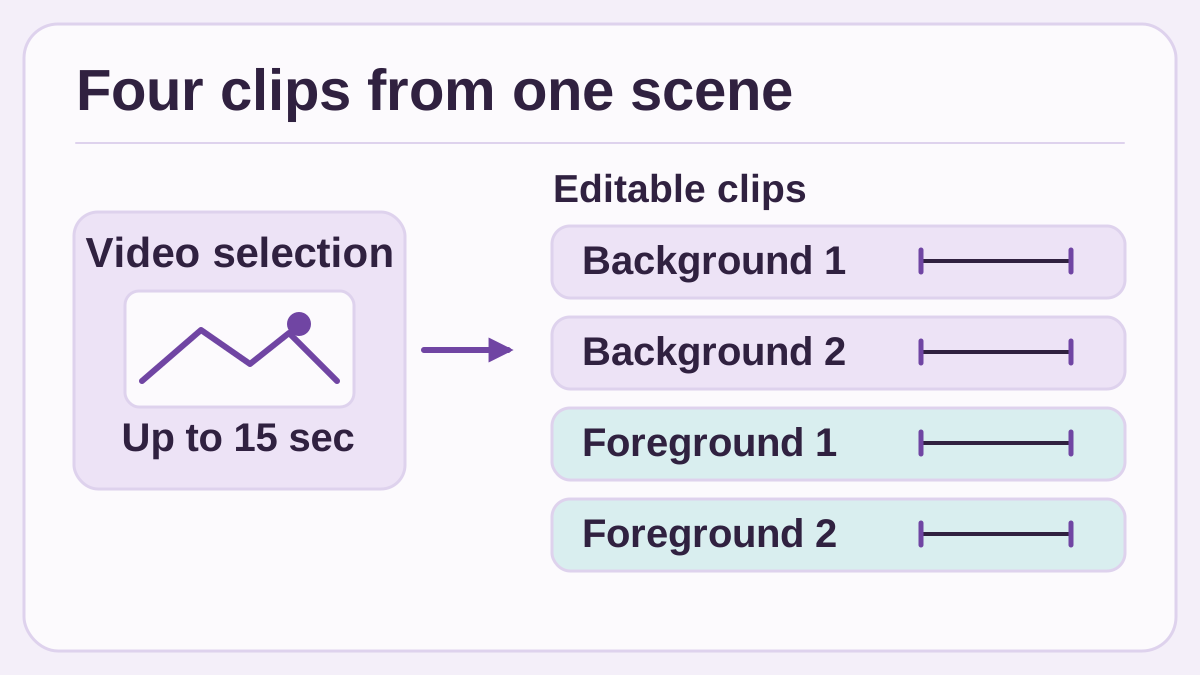
The editor can evaluate and keep each of the four clips separately. Original illustration by Telli.sh based on Adobe's November 10 workflow documentation.
Suppose the knife strikes sound good but land a beat late. Move the clip if the spacing between hits matches. If the spacing is wrong, try a variation, isolate a usable strike or replace the clip. If the kitchen hum is convincing but distracts from a voice-over, solo it to understand the source of the distraction and then decide whether a level adjustment or removal will serve the same scene better.
The public demo is a convenient way to practice that judgment without starting a generation. Listen to one scene with all four layers, then with only ambience. Add one foreground track and note which action it seems to follow. Adobe provides the example, so treat it as a demonstration of the controls and the arrangement, rather than as a sample from an ordinary edit or proof that your own footage will behave the same way. Layered audio demo
Judge the important sounds against the picture
Pick two anchors in the kitchen clip before generating audio: first contact with the board and the moment food reaches the pan. Mark those frames in both sequence copies. Add one continuity check for the cut, where the background should either carry through or change because the perspective changes. The three checks give you an editorial brief that applies equally to both passes.
| Review point | What you can inspect | Useful response |
|---|---|---|
| Knife hits the board | Check each cue against the visible contact | Move, trim or replace the effect if it misses the action |
| The shot cuts to a pan | Listen for an unexplained change in the room | Bridge the cut or choose one continuous bed |
| Voice-over enters | Check whether the effects obscure a word | Reduce or remove the competing layer |
| Food meets the pan | Decide whether the effect suggests the right material and intensity | Keep the useful portion or replace it with a library effect |
For foreground sounds, record frame offsets where a cue has a clear start. At 24 frames per second, three frames are 125 milliseconds. That example is arithmetic, not a universal acceptance threshold. Decide which cues need tight alignment for your scene and use the same standard for manual and generated edits. For a sound with a soft attack, a short listening range will often tell you more than trying to identify a single waveform sample.
There is also a difference between a convincing action and an accurate record of that action. A generated click might sell a cut in a fictional kitchen montage. The same click could suggest a step that never happened in an instructional or evidentiary clip. Where the sound tells a viewer that a real event occurred, choose recorded sound or make the editorial treatment clear. A pleasant sound is not evidence of what a microphone would have captured.
Use a short test before spending credits on a sequence
Adobe Help describes a practical starting flow: select a range with the Generative Media Tool, choose Generate soundscape and review the visible footage and displayed credit requirement before generating. The guide shows a 30-credit example in a screenshot; use the number displayed in your own session for budgeting. A long project makes the distinction matter because dividing it into more ranges and generating again creates more decisions and potentially more credit use. Adobe's step-by-step instructions and credit example
- Choose a representative range. Use up to 15 seconds of material cleared for the test. Mark the important visible actions and any audio that must remain audible. If you are testing a montage, pick a range with one meaningful cut rather than a compilation of unrelated scenes.
- Start the two passes from the same sequence. Duplicate the sequence and agree on what counts as acceptable. Time the manual pass from the first library search. On the generated pass, log active editing time, any wait and the credit number shown before you generate.
- Listen to the layers in isolation. Solo the background and foreground clips, compare variations where useful and make the smallest editing changes required. Log which layers survive and which need replacement. Save a working state you can return to before regeneration.
- Use the same listening conditions. Review both versions with the same narration, monitoring level and cut points. Check a second playback setup if the video is intended for phones. Include the final listen and any required replacements in the time count.
- Keep the results per scene type. Record credit use, active minutes, foreground timing fixes, interruptions, assets you kept and anything the listener noticed. If the result is useful, try another scene with different movement or acoustics before extrapolating to the rest of the project.
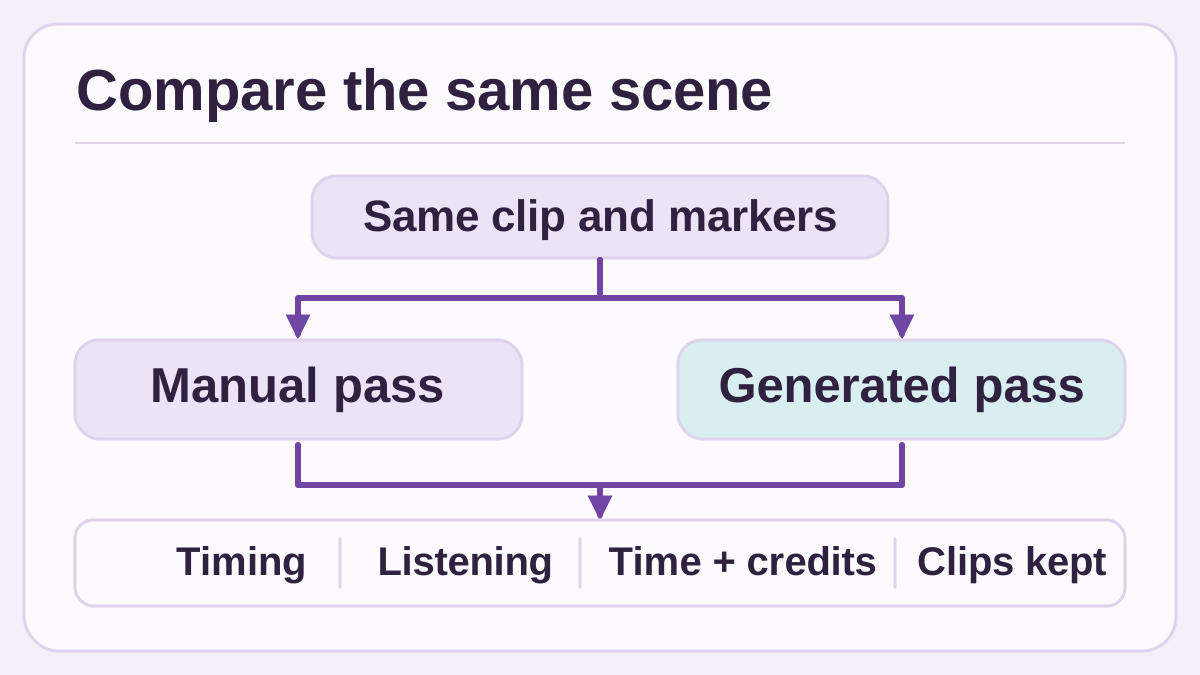
Compare two first passes against the same acceptance rules and count what actually reaches the mix. Original Telli.sh illustration of a proposed test.
Write down what waiting did to the job. Ten minutes of waiting that you can fill with an unrelated edit feels different from ten minutes that prevents you from locking the sequence. Capture elapsed time and hands-on time separately. A tool that saves a library search can be valuable even when it does not shorten the overall session, particularly if the saved active minutes come during a busy delivery day.
Try a quiet hallway as a second case. Its main challenge is often one convincing room sound across a cut, rather than four layers. If two useful sounds are already in your project library, generating four may merely add review work. In a fast recipe clip with several actions, the same feature can give the editor options that are harder to assemble quickly by hand. This is why one benchmark across both kinds of scene would hide the result you need.
In a third case, take a short silent repair clip where a screw backs out and a tool lands on a mat. A synthetic click timed perfectly to the wrong visible action can be more distracting than a slightly late click. Have one person who did not make either edit watch the scene at normal speed. Ask which actions they thought made sound, whether the acoustic space felt continuous, and whether any cue drew attention away from the instruction. Do the frame-by-frame check afterward. This separates a cue that looks tidy on the timeline from a cue that supports the story when someone is actually watching it.
Name the clips you keep and save a version of the sequence before you make extensive changes. A colleague reopening the project should be able to identify what was recorded, what came from a library, and what was generated and altered. That record is also useful if a cut arrives late and you need to decide which sounds can move with the picture. When the delivery is a narrated piece, include the final voice-over in the review. An effects-only audition is useful for finding flaws, but it can overestimate the importance of a sound that barely survives in the mix.
The cost to watch is the cost of an accepted scene
Count generations and credit use across the whole process, including results you discard. Count the minutes spent picking a variation, aligning a clip or replacing a cue. If two scenes use the same number of credits but only one reaches the final sequence with a useful layer, their economics are different. You can record both without assigning a dollar price to credits that may be bundled differently across plans.
There is a simple stopping rule worth trying. After listening to the first set and the available variations, ask which missing sound is blocking the edit. If it is one sharply timed cue that a trusted library already contains, pull the library effect. Keep the background elements that work. Switching methods at that point protects the rest of the edit from paying for the one thing that is still missing.
For a batch, preserve sound continuity deliberately. A cut from an overview of the kitchen to the board may work best when one room bed runs under both shots. Separate generations have no reason to give you interchangeable ambiences. Assemble recurring beds across related shots and treat the individual foreground clips as edits in their own right. The edit may still benefit from a generated sound even if the best mix combines it with more familiar material.
Track the credits that Adobe reports and also check your team's content handling rules before using client footage. The instructions say the visible range guides the generation. Choose a cleared test clip if your organization's rules or your agreement with a client limit processing of production footage. That question belongs in the test plan before you decide how much of a project to send through any new generation feature.
The most useful result can be narrow: less time finding room tone for short clips, with the editor still placing the sounds that carry the story. Premiere's four tracks make that narrower win measurable. Keep the pieces that help, and let the accepted scene tell you whether another generation is worth it.
Sources
- Adobe Creative Cloud announcement, November 10, 2026
- Adobe Premiere desktop 27.0 release notes, November 10, 2026
- Adobe Help: four editable tracks, credit display and timeline screenshots
- Adobe Research: three linked audio demonstrations, November 11, 2026
To keep client feedback and sound-edit decisions searchable together, create a Telli.sh account.