Could your own computer handle both captions and voiceovers?
llama.cpp 0.9.0 adds three speech capabilities. Here's how to test offline transcription, speaker labels and preset narration on the hardware you already have.
You have a rough cut of a product demo, a recording of two colleagues talking over it and three lines of narration to redo. Sending the recording to a transcription service and the script to a voice service is familiar. Running both jobs on the editing machine could make repeated revisions easier, especially if the source material needs to stay on that machine. The trade-off is that the editor now owns the queue, the model files and the quality checks.
On November 4, 2026, the open-source inference project llama.cpp released version 0.9.0. The release adds offline transcription support for NVIDIA Nemotron 3.5 Transcribe, text-to-speech support for Chatterbox and support for predefined Pocket TTS voices that can be used without a reference recording. The release notes describe transcription in 40 languages, support for prompt context and speaker attribution. Each of those changes has a place in the same editing workflow, and each asks different things of the computer and the person reviewing its output. llama.cpp v0.9.0 release notes
If you've encountered llama.cpp while trying to run a local chatbot, the name can make this release sound narrower than it is. It is an inference runtime that runs supported model architectures, with tools for loading compatible model files and serving requests. This update expands what can run through that toolkit. The application around it still decides where to store audio, how to present corrections and when a file is ready to publish. llama.cpp project
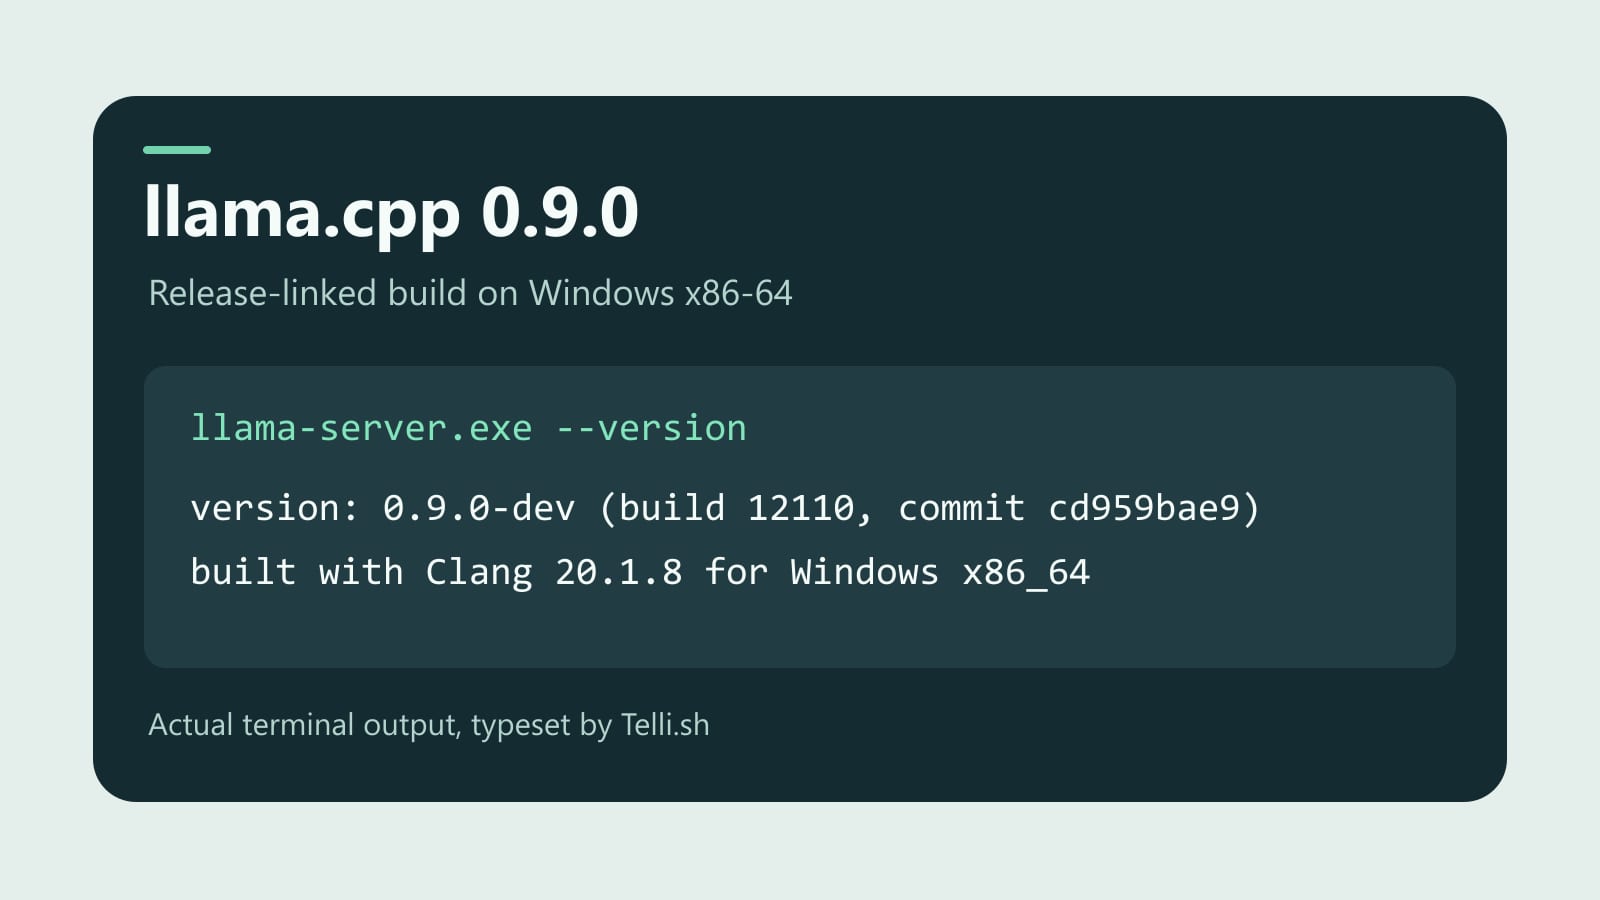
Telli.sh ran the official Windows build linked from the release and typeset the actual version output. It confirms the build identity. Release-linked b12110 build
Captions begin with an editable transcript
Say a teammate records a ten-minute walkthrough of an unreleased product. Another teammate interrupts to correct the name of a feature. You want a transcript you can search, a rough division of who said what and, eventually, captions that land on the right frame. Those are three distinct outputs. The first is a text artifact, the second is an editorial annotation and the third needs timing.
The Nemotron integration provides a way to start with the first two. The merged implementation supports offline transcription with optional context and speaker attribution. It can carry speaker information across processing windows within a recording. The maintainer's change notes specify that word timestamps and streaming were outside the scope of this integration. The practical workflow is to transcribe the finished recording, correct the text and do timed alignment in a separate editing or subtitle step when the final deliverable requires it. Nemotron 3.5 Transcribe integration
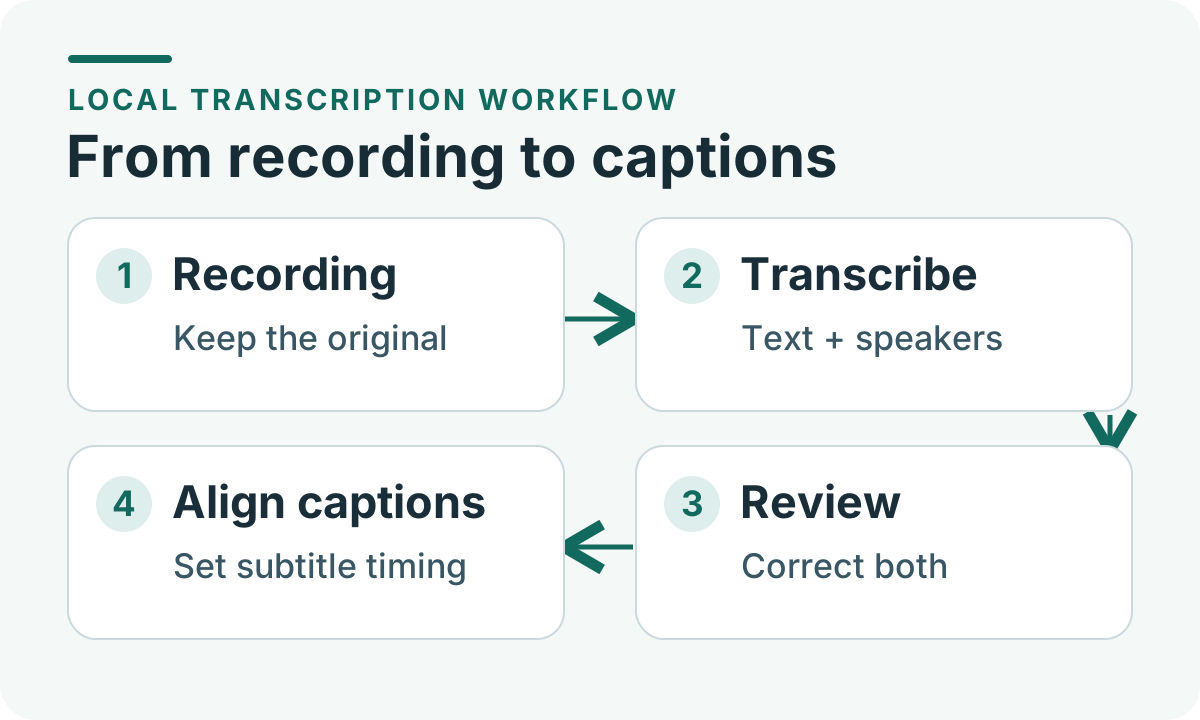
Telli.sh illustration. A local transcript gives you something to edit. Caption alignment happens after the text and speaker labels have been checked.
Prompt context is especially interesting for teams with words that rarely appear in everyday conversation. For a recording about a fictional feature called Pine Relay, try a short list of expected names and acronyms, then run the same clip without the list. Count whether the extra context fixes the name, whether it accidentally inserts it where nobody said it and whether it changes numbers or unrelated words. Keep the list small enough that you can explain which entry affected the result. A transcription assistant should make unfamiliar words easier to review without giving the glossary the power to rewrite a recording.
Speaker attribution deserves a separate check. Two speakers in a clean interview may be easy to distinguish. Add a third person through a speakerphone and a few overlapping sentences and the correction burden can change. Listen to transitions as well as each person's longest turn. A transcript might have all the right words and still assign an important decision to the wrong person. Keep model-generated speaker labels separate from human-assigned names until someone who knows the recording has confirmed them.
For captions, read the export back against the video. A sentence that looks fine in a document can run off the screen, appear before a critical reveal or stay up when the next speaker has already started. Test a hard cut and a short interruption early in the clip. If you need subtitle files with reliable timings, include the alignment and correction step in the time budget. A clean first transcript is useful even when the final edit still has to be assembled elsewhere.
A preset voice makes a good first test
Now consider the other half of the rough cut. The title of a feature changes, so you have to replace a voiceover line in six screen recordings. Generating a new take locally makes that an inexpensive experiment once the model and hardware are ready. The difficult parts are consistency and pronunciation. The new audio should sound reasonable between the surrounding clips, read the product name correctly and fit the shot.
Version 0.9.0 brings Chatterbox into llama.cpp's supported text-to-speech models. The project review reports CUDA runs for Chatterbox Turbo and Multilingual V3. The reviewer tested default voices and reference-based generation and attached samples of those runs. That is evidence from the integration review on a particular setup. The next question for a production workflow is whether the intended voice and language stay consistent across the exact text and hardware you'll use. Chatterbox support and maintainer audio examples
Pocket TTS adds a different option. A compatible model can expose built-in voice names under voices in the server's GET /props response, and a client can pass a listed name to the text-to-speech route. That gives a script or small application a way to fill a voice picker from the loaded model. It also means a first pilot can use a preset, without sourcing and storing a recording of a person to imitate. Keep the model and the selected voice name in the export record so a future edit can start from the same setup. Pocket TTS predefined voice support
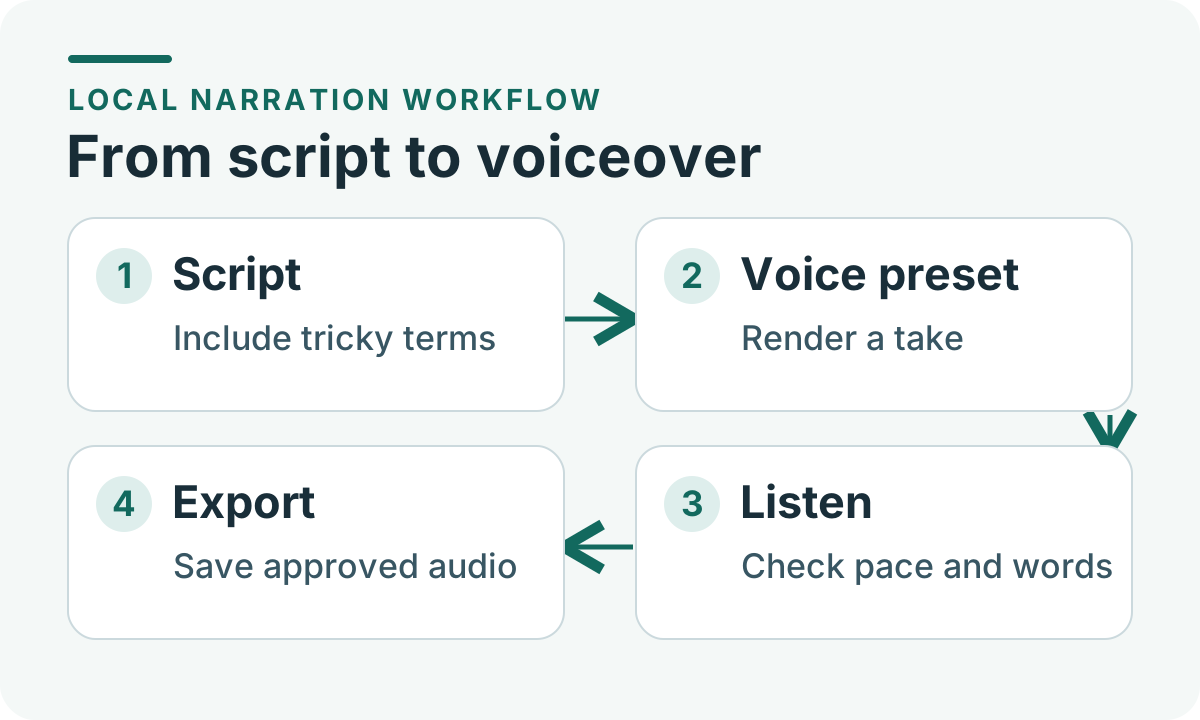
Telli.sh illustration. Review the audio itself before exporting. A selected preset tells you what was requested, while a listening pass tells you what was produced.
Start with a short script that includes the terms an ordinary showcase skips. Add a product code, an address format or a number with a unit, plus a sentence whose tone matters. Try three separate lines and then render the full paragraph. A voice can sound consistent on isolated sentences yet speed through the important word in a longer take. Ask someone who knows the audience's language to listen without the script first, then compare what they heard with the intended text.
Save final audio separately from the input script and source recordings. If you later find a number was spoken incorrectly, you can fix a specific take without losing the original edit. For a narration job that already has an authorized human voice actor, keep their recordings and generated alternatives clearly labeled so neither can silently replace the other. A preset is a straightforward choice when the project only needs an intelligible, consistent voice.
A runtime version is only one part of the setup
The release can remove a reason to switch runtimes if your team already uses llama.cpp. You still need a compatible build for the target machine, the right model files and any model-specific companion files, such as the multimodal projector called out by the Nemotron implementation. The weights are a separate download and have their own terms. Check both the runtime and the model documentation before packaging any part of the setup for another team or client. Release artifacts and Nemotron integration setup notes
Memory is worth measuring during the job, after model loading has finished. A model file's size tells you how much disk space the file occupies. The run also needs space for model execution, backend buffers and intermediate work. A desktop that starts a transcript may still slow the editor when both use the GPU. A laptop that works once may take longer on the fourth run when cooling and background tasks start to matter. Record peak system RAM and, when appropriate, GPU memory with the editor open in the configuration that will actually be used.
The maintainers shared transcription validation in the Nemotron pull request, including clean speech and meeting datasets, with a specified quantization setup and an RTX PRO 6000 Blackwell in the test environment. Those results help explain how the integration was checked. For your buying or deployment decision, measure your recordings on your intended machine. Even on the same hardware, switching precision, changing the language or processing more overlapping speech can alter the balance between runtime and review effort. Nemotron validation and setup
Keep the version comparison simple. November 6's b12144 is a separate prerelease with a CUDA mixture-of-experts layout change. If you want to judge the audio additions, begin with the numbered November 4 release and keep the model artifacts and settings fixed. If you later evaluate the prerelease, record it as a separate run. That makes it possible to tell whether the work changed because the audio model, the inference backend or the surrounding application changed. November 6 prerelease notes
Local processing also benefits from a precise definition of what remains on the machine. If the desktop workflow calls a local server, a nearby application can still send logs, sync an output folder or fetch a dependency. Before introducing sensitive recordings, get the required binaries and weights using a test machine or a designated setup step. Then use a benign clip while offline to see which parts of the workflow really complete. Check where the original file, temporary data and the final export are written. A local runtime helps with the inference boundary, and the rest of the application determines the overall data path.
Try one project on the machine you actually use
- Choose two short, shareable inputs. Record 30 to 60 seconds with two people, including a little overlap and a made-up feature name. Write a brief narration with the same name and one awkward number. Keep the inputs stable across runs so you can spot the effects of a changed setting.
- Pin the runtime and models. Choose the v0.9.0 source or its linked b12110 build for your system. Record the model source, artifact filenames and quantization. For Nemotron served through
llama-server, the merged integration documents--reasoning offbecause the default template can otherwise return reasoning without a transcript. The integration notes say the multimodal CLI does not need that switch. Match the path you test to the one you plan to operate. Nemotron integration notes - Measure a cold run and repeat it. Record launch-to-output time for the first run and time to result after the model has loaded. For transcription, divide processing time by audio duration to see whether waiting scales comfortably to a longer recording. Record peak memory and whether the editor stays responsive. A voiceover workflow may care more about time from editing one line to hearing the new take.
- Compare errors by what they cost you. Mark a missed term, an incorrect number, a speaker swap and a sentence that needs re-timing. Count correction time as part of completion time. For voiceover, check names, numbers, pauses and the fit of the new audio against the cut. A good comparison includes the corrected artifact, not just the first file produced.
- Name the handoff before automating it. Decide who reviews the transcript, where captions are aligned and how approved voiceovers are marked. Try a second clip after the first has passed. If a file fails, preserve the input and surface the failure in the editing queue so a human can pick it up without repeating the whole batch.
You can track these checks with four columns in a spreadsheet: setup, processing time, correction time and acceptance. Keep a note for the reason an artifact was rejected. After a few trials, you may find that the local setup is excellent for repeated narration edits while noisy group interviews still need a different pipeline. That is a useful outcome. Use each component where it saves time and keep a record of where the fallback works better.
If you already have a transcription pipeline that performs well, compare against it using the same recording and acceptance criteria. You can migrate just the easier half, like rendering low-risk scratch narration on the workstation. Conversely, a dependable captioning workflow can still benefit from a shared local integration later, when there is a reason to consolidate model serving and the new implementation has demonstrated it meets the original editorial standard.
Where the release is most useful
The strongest first use case is work you already repeat. A tutorial team can transcribe a rough take before the video leaves the editing machine and render scratch narration to check pacing. A researcher can make an editable transcript of a recording they control, correct the speaker labels and preserve the audio as the source. A small developer team can test both paths behind an internal interface, provided it exposes the selected model, the resulting artifact and any error.
Where the release could matter most is in reducing handoffs between specialized tools without losing their separate quality checks. The transcription model still has to recognize the words and distinguish speakers. The synthesis model still has to pronounce the script. The editor still has to decide when the result is ready. What changes is that these jobs can share an inference toolkit and potentially a machine you already use.
For a finished recording you want to revisit alongside the transcript and notes, start an upload in Telli.sh.